Getting started
This guide takes you from nothing installed to your first change written and reviewed. It is one continuous path — install, connect a backend, add a project, run an issue, read the plan, review the diff — and it stops there. What to do when a run needs something from you or goes wrong is the next guide, Run and recover work.
Prerequisites
-
At least one agent backend. Any one of these is enough:
- Claude Code CLI — run
claudeto verify - Codex CLI — run
codexto verify - OpenRouter, which needs no CLI at all — just an API key added in Settings
Several can be configured together; see Backends.
- Claude Code CLI — run
-
Git, on your
PATH. Rungit --versionto verify. -
A GitHub account, optional. Connecting one lets Cairn open pull requests and track their status. Everything in this guide works without it.
Install
Download Cairn for your platform from GitHub Releases.
macOS: open the Apple Silicon .dmg and drag Cairn to Applications.
Windows: run the x64 installer.
Linux: install the .deb (Debian/Ubuntu) or .rpm (Fedora/RHEL) with your
package manager. Linux has no in-app auto-update — update by downloading the
newer package.
First launch
On first launch Cairn shows an onboarding checklist.
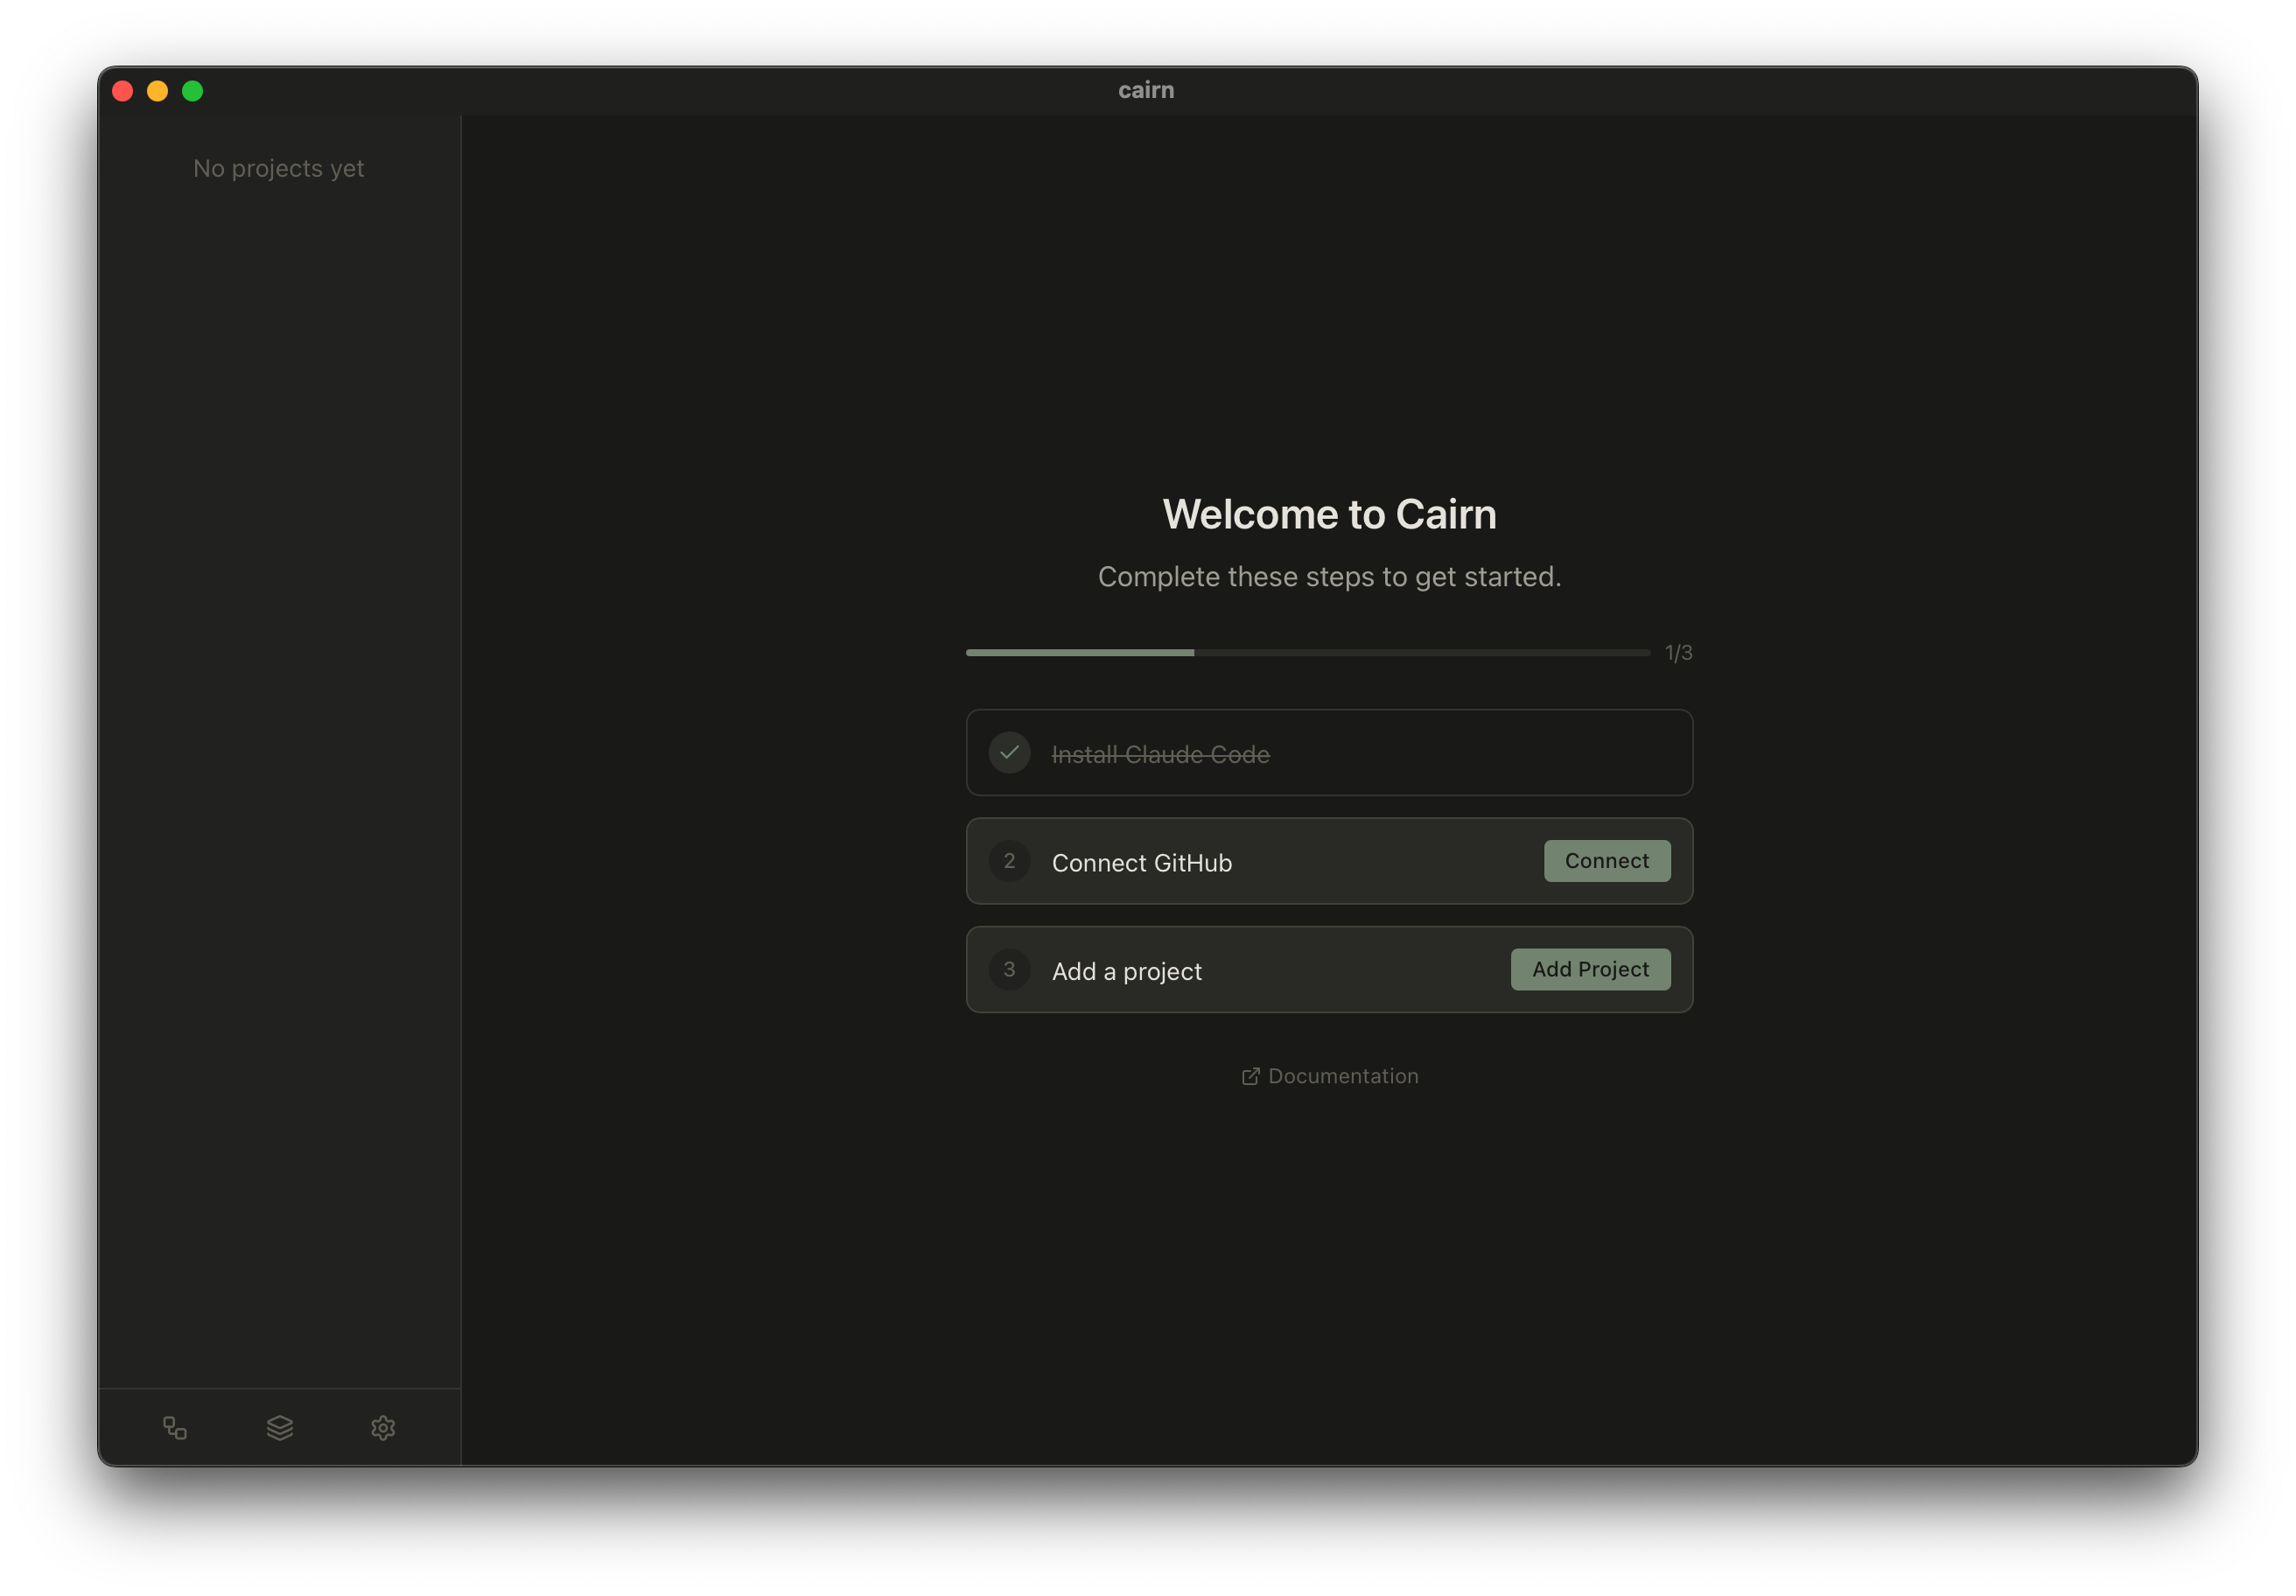
The step that matters before anything else is the backend. Open Settings › Providers, which lists every backend, lets you pick the default, and edits the tier-to-model matrix. Each provider authenticates one of three ways: through your installed CLI's own login, through an OAuth subscription (Claude Max or ChatGPT), or with an API key.
The rest of the checklist — GitHub, your first project — you can do now or later.
Connect GitHub (optional)
Cairn uses a GitHub App to open pull requests and track their status. Skip it if you want to see Cairn work first; you can connect it whenever you like, and this guide does not depend on it.
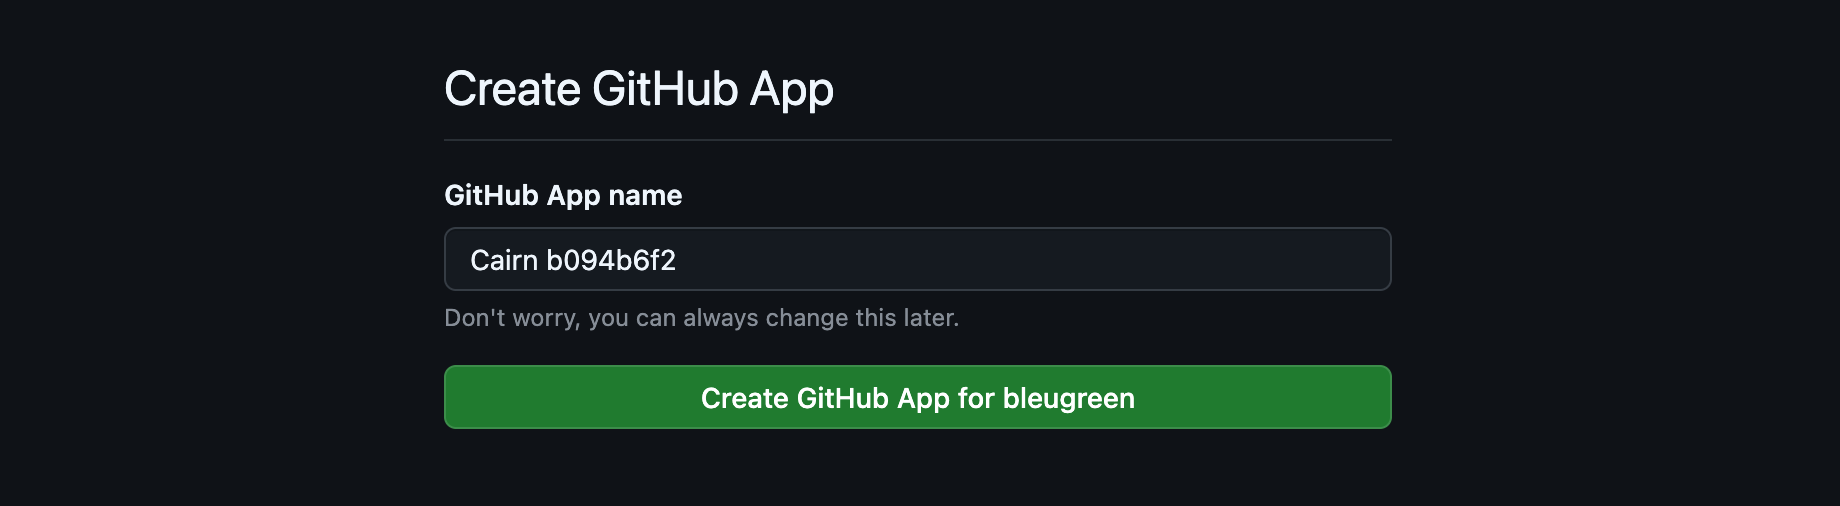
Click Connect GitHub App in the checklist, or open Settings › GitHub. Sign in to GitHub in your browser first — the most common failure here is starting the flow signed out. GitHub opens its app-creation page; review the settings and click Create GitHub App at the bottom.
GitHub then redirects you to install the app you just created. Choose which repositories Cairn may access and click Install.
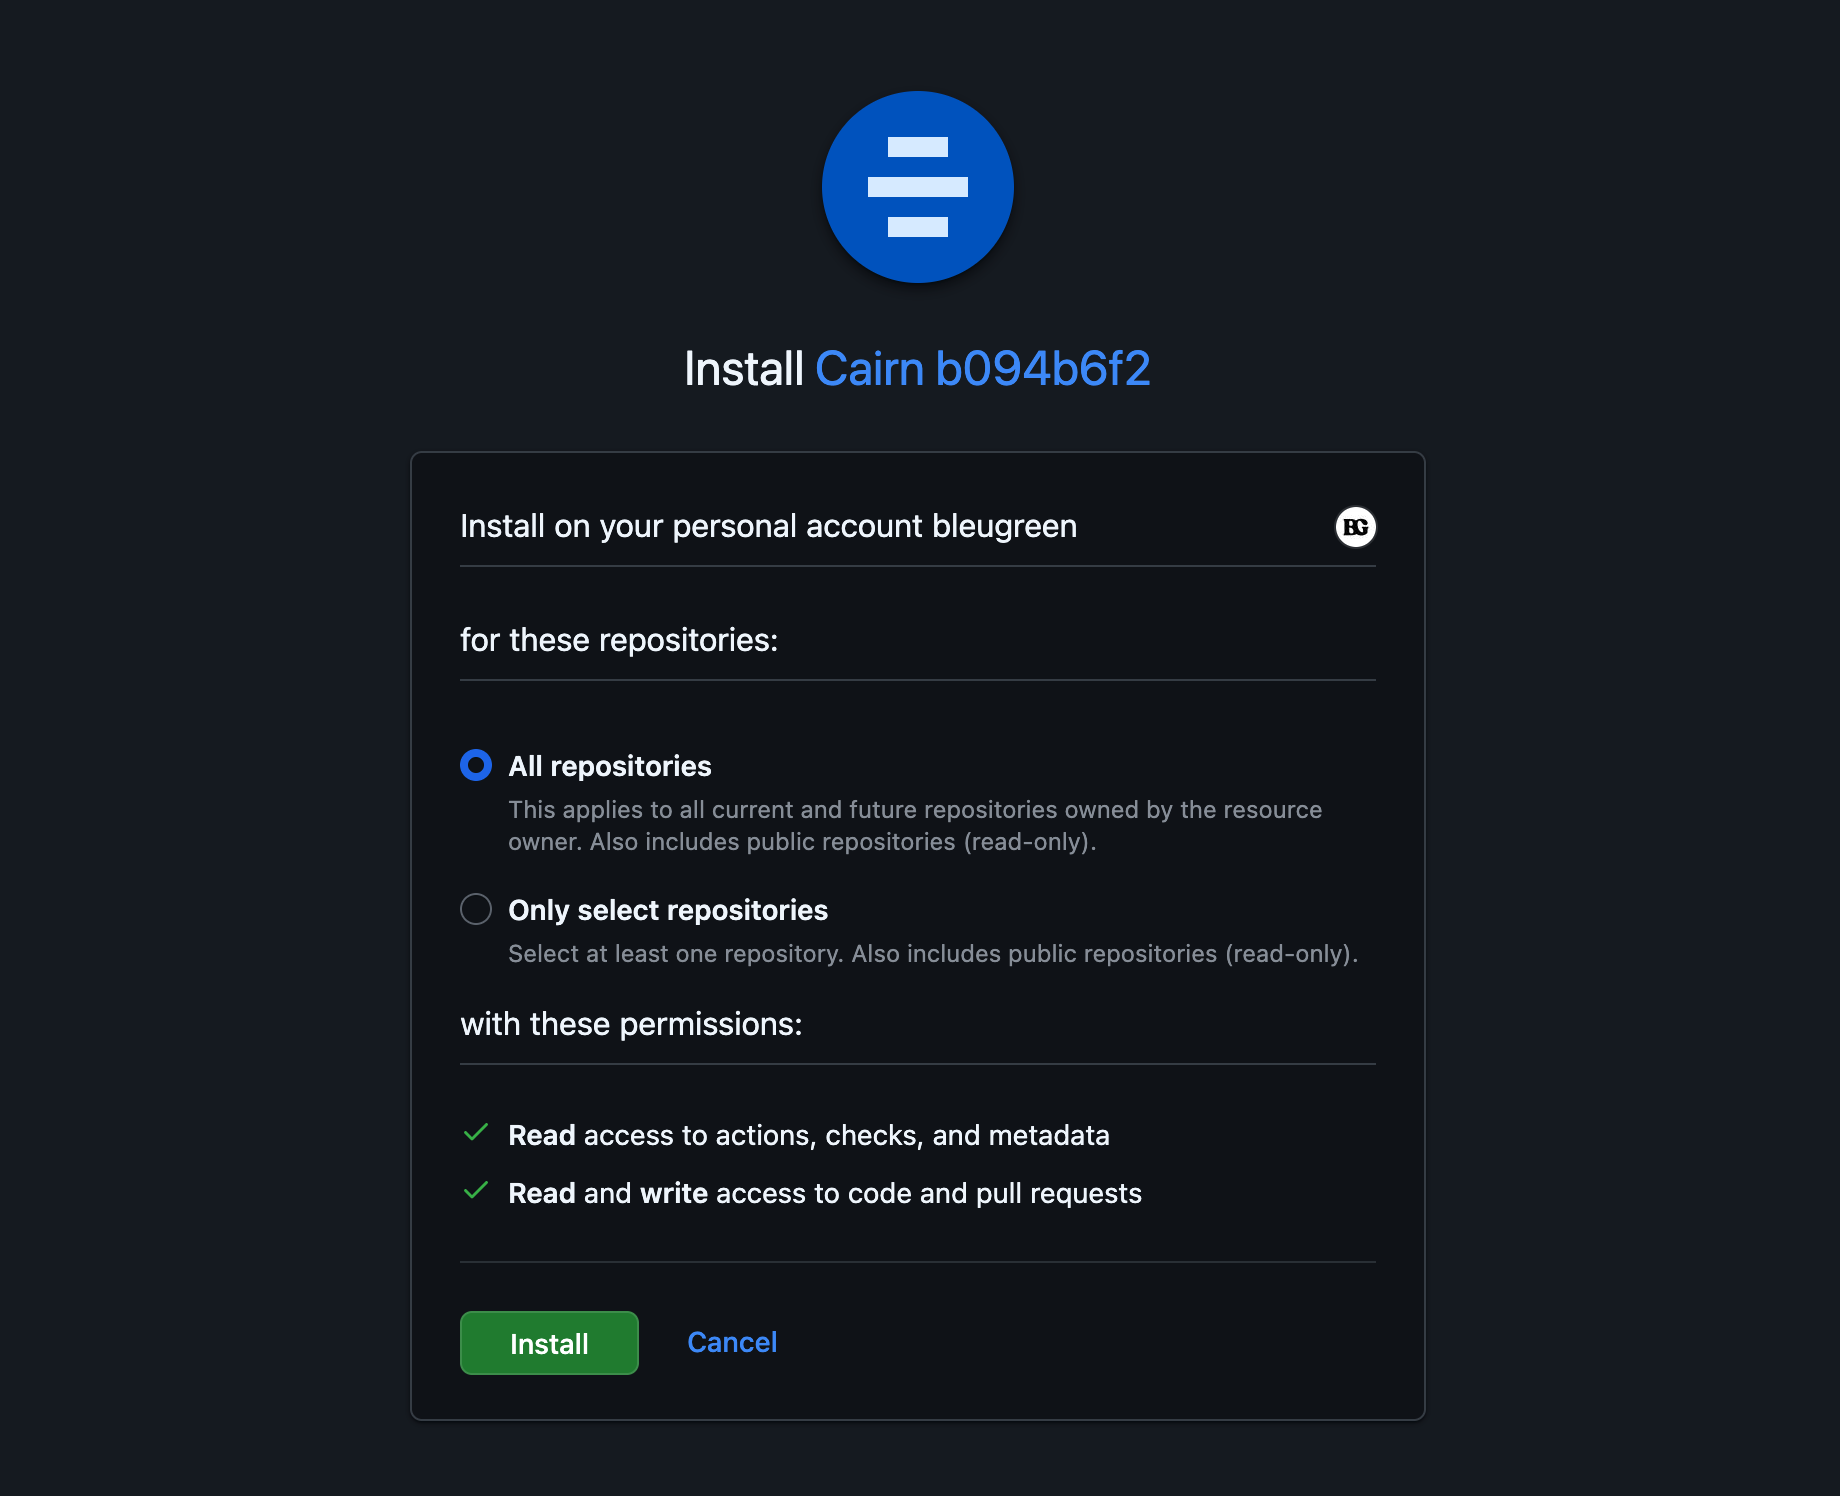
Back in Cairn, Settings › GitHub should read "Connected". For what the app and the webhook relay actually do, see GitHub.
Add your project
Click Add Project in the sidebar and point Cairn at a local git repository.
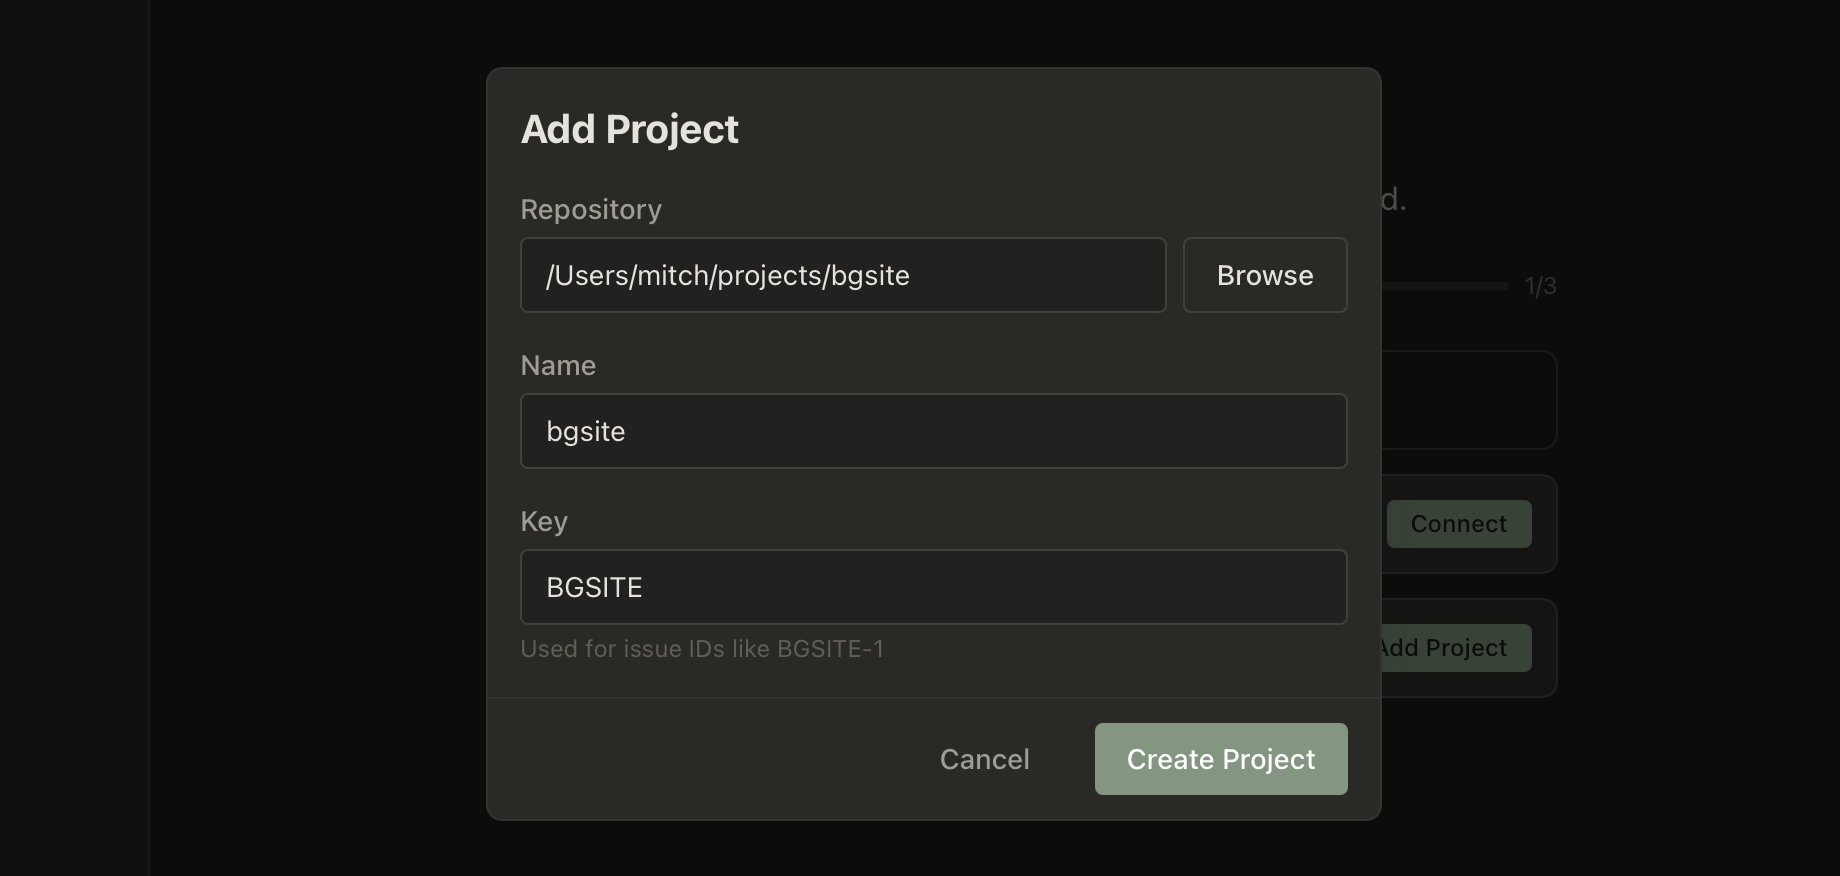
Give it a name and a short project key — the prefix its issues are
numbered under, like TEAM-123. Click Create and the project appears in the
sidebar.
Run your first issue
With the project selected, press c to create an issue.
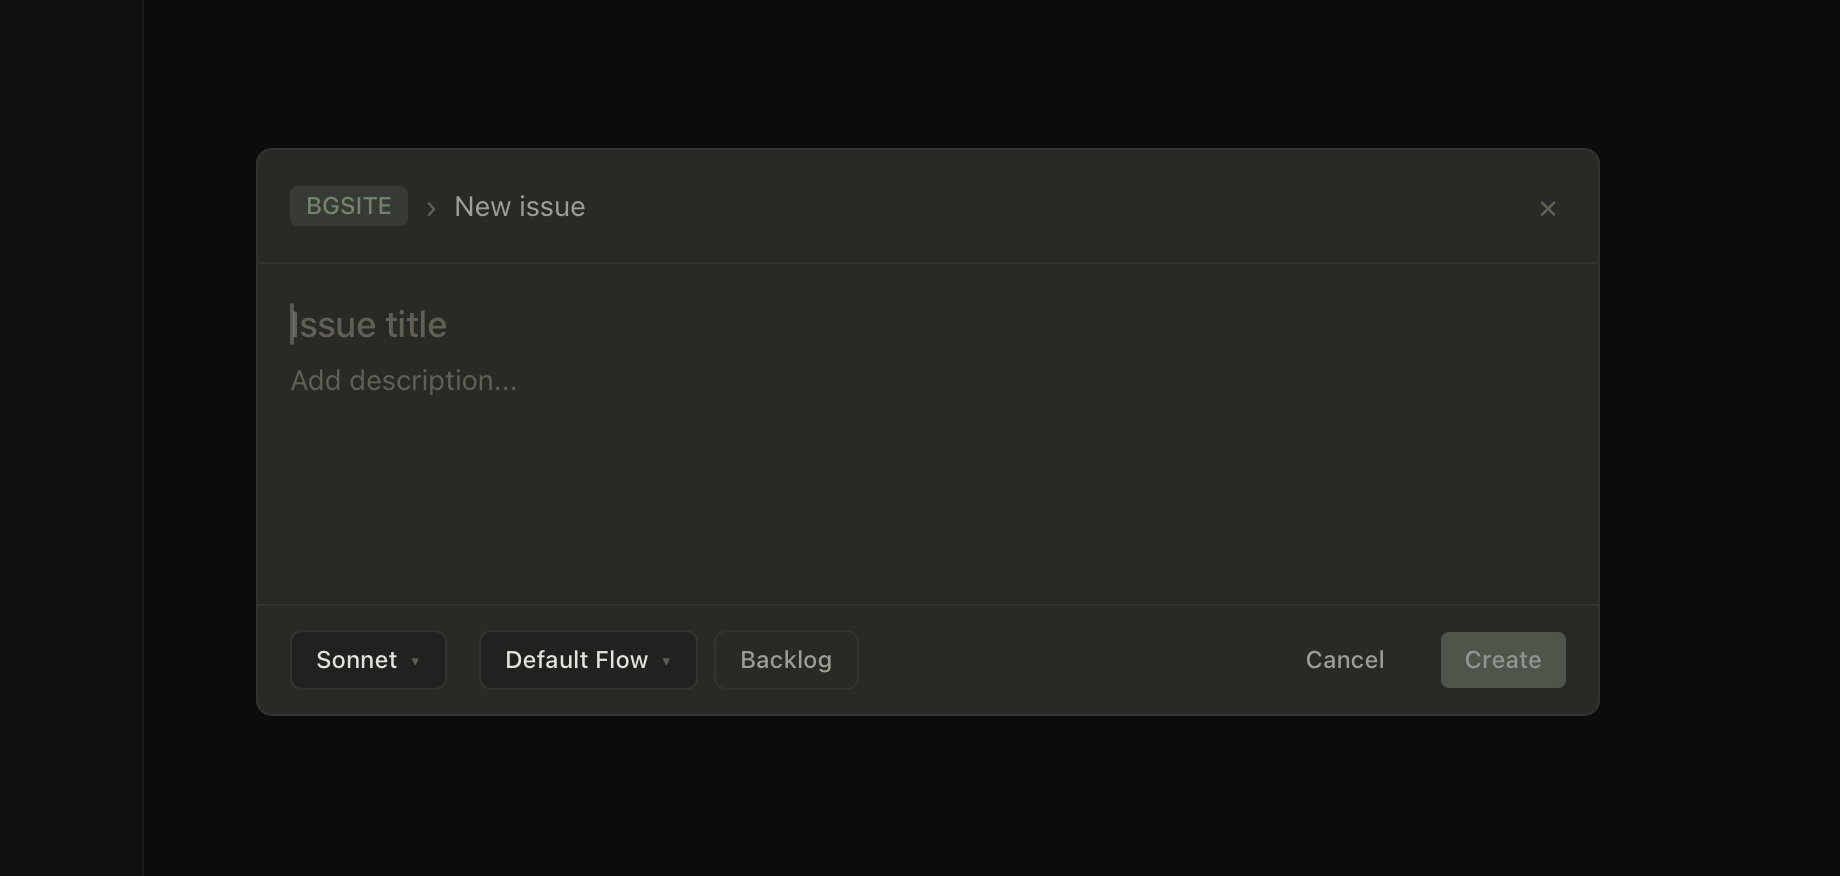
Give it a title and, optionally, a description (you can paste images straight in) and labels. Pick something small and real for a first run — a bug you can describe in two sentences works better than a feature.
By default Create files the issue in the backlog so you can run it later.
To start work immediately, open the Execution composer — the + Execution
button in the footer, or ⌘N — choose a recipe, and create.
The default Plan → Build recipe runs three steps, and the pause in the middle is the point:
- Plan. The planner agent reads your codebase, writes an implementation plan, and stops. The issue is marked as needing your approval and nothing advances until you give it.
- Build. Once you confirm the plan, the builder implements it on its own branch, isolated from your checkout. It commits as it goes, and the project's checks run against those commits automatically.
- Pull request. A review agent reads the result, and if you connected GitHub, Cairn opens a pull request from the builder's branch.
You can watch all of it live — the transcript, the files changing, the diff against the base branch.
Read the plan before you approve it
Reading it tells you whether the agent understood the problem, and editing it redirects the work before any code exists. Approving a plan you did not read is how you end up reviewing a large diff that solves the wrong thing.
Review the change
When the builder finishes, open the diff and read what changed. The work is on its own branch, so nothing has touched your checkout — you are reviewing a finished change, not a working tree.
If you connected GitHub, Cairn will also have opened a pull request, and its view shows the live state from GitHub beside the diff. Merging it there is what lands the commits and resolves the issue.
That is the loop. Everything after this — a failed check, an agent that asks for permission, a branch that conflicts, a run you want to stop — is covered in Run and recover work.
Where to go next
- Run and recover work — the operating guide, and the natural sequel to this page
- Threads — standing topics that stay open across many issues
- Concepts & glossary — look up any word these pages use as a term of art
- Backends — Claude, Codex, OpenRouter, tiers, credentials
- Agents and skills — configuring the roles agents play
- Recipes — workflows beyond plan-then-build
Troubleshooting setup
Agent CLI not found. Make sure claude or codex is on your PATH, and try
running it directly in a terminal. See the
Claude Code or
Codex installation docs.
GitHub App connection failed. Sign in to GitHub in your browser before
starting the flow — a 500 error, or a URL containing /settings/manifest,
usually means you were signed out. Check that you completed both steps (create
and install), verify Settings › GitHub, and check the
GitHub App events page for webhook
deliveries.
For things that go wrong during a run rather than during setup, see Run and recover work.
Still stuck? Open an issue on GitHub.